

Automatic Logo Watermark Addition: Protect Your Photos at Scale
Image theft is rampant online. Here is the definitive workflow for automatic logo watermark addition — from transparent background preparation to batch deployment.
Every day, millions of images are scraped from websites, reposted without credit, and reused without permission. For professional photographers, real estate agents, e-commerce brand owners, and digital creators, this isn't just an annoyance — it is a direct threat to revenue and brand integrity.
Watermarking has long been the standard defence. A well-placed logo overlay deters casual thieves, ensures your brand travels with every shared image, and strengthens your visual identity across the web. But doing this manually — opening each photo in Photoshop, placing the logo layer, adjusting opacity, and exporting — is brutally slow when you have hundreds or thousands of images to protect.
That is where automatic logo watermark additionchanges everything. By combining a clean, AI-powered background removal pipeline with batch watermarking tools, you can protect an entire catalogue in minutes instead of hours. This guide walks you through the exact workflow, from preparing your source images to deploying transparent PNG overlays at scale.
Why Visual Branding Matters for Content Creators
The Security Layer
A visible brand mark is the most straightforward deterrent against image scraping. While a determined thief can crop or clone a watermark, the vast majority of casual misuse is prevented entirely when a logo is clearly present. Automated scraping bots often skip watermarked images altogether because the content is less attractive for republishing without attribution.
The Marketing Layer
Every watermarked image that gets shared on social media, blog posts, or third-party sites becomes a free brand impression. A consistent logo treatment across your entire catalogue builds recognition and authority. When potential clients see your work on Pinterest, Instagram, or a partner's site, your brand is already there — no extra effort required.
Quick Tip — Opacity & Placement
Keep your watermark visible but non-intrusive. A 30-50% opacity in the lower-right or bottom-centre area balances brand presence with image enjoyment. Avoid covering key subject details — the watermark should protect without ruining the composition.
The Workflow Challenge: Clean Backgrounds First
A crisp, professional watermark overlay demands a clean source image. If your photo has a cluttered background — a messy office, a busy street, uneven lighting — the watermark will look like it is fighting for attention rather than protecting the work.
This is why background removal is the essential first step in any professional watermarking pipeline. By isolating your subject against a transparent or neutral-colour canvas, you create a base image that accepts a logo overlay cleanly, without visual noise competing with your brand mark.
Using a transparent background maker like our AI tool at RMBG.PRO, you can batch-process entire folders of images in seconds. The AI detects edges with pixel-level precision, strips away the original background, and outputs a clean transparent PNG ready for watermarking. No manual masking, no pen tool, no tedious per-image adjustments.

Step-by-Step Guide to Automating the Process
Step 1: Batch-Process Image Cutouts
Upload all the images you want to protect. Use the AI background removal tool to strip every background at once. The result is a folder of transparent PNG files with your subjects perfectly isolated. This step eliminates the most time-consuming part of the process — manual masking — and ensures every image has a clean canvas ready for branding.
Step 2: Convert Your Logo Into a High-Quality Transparent PNG
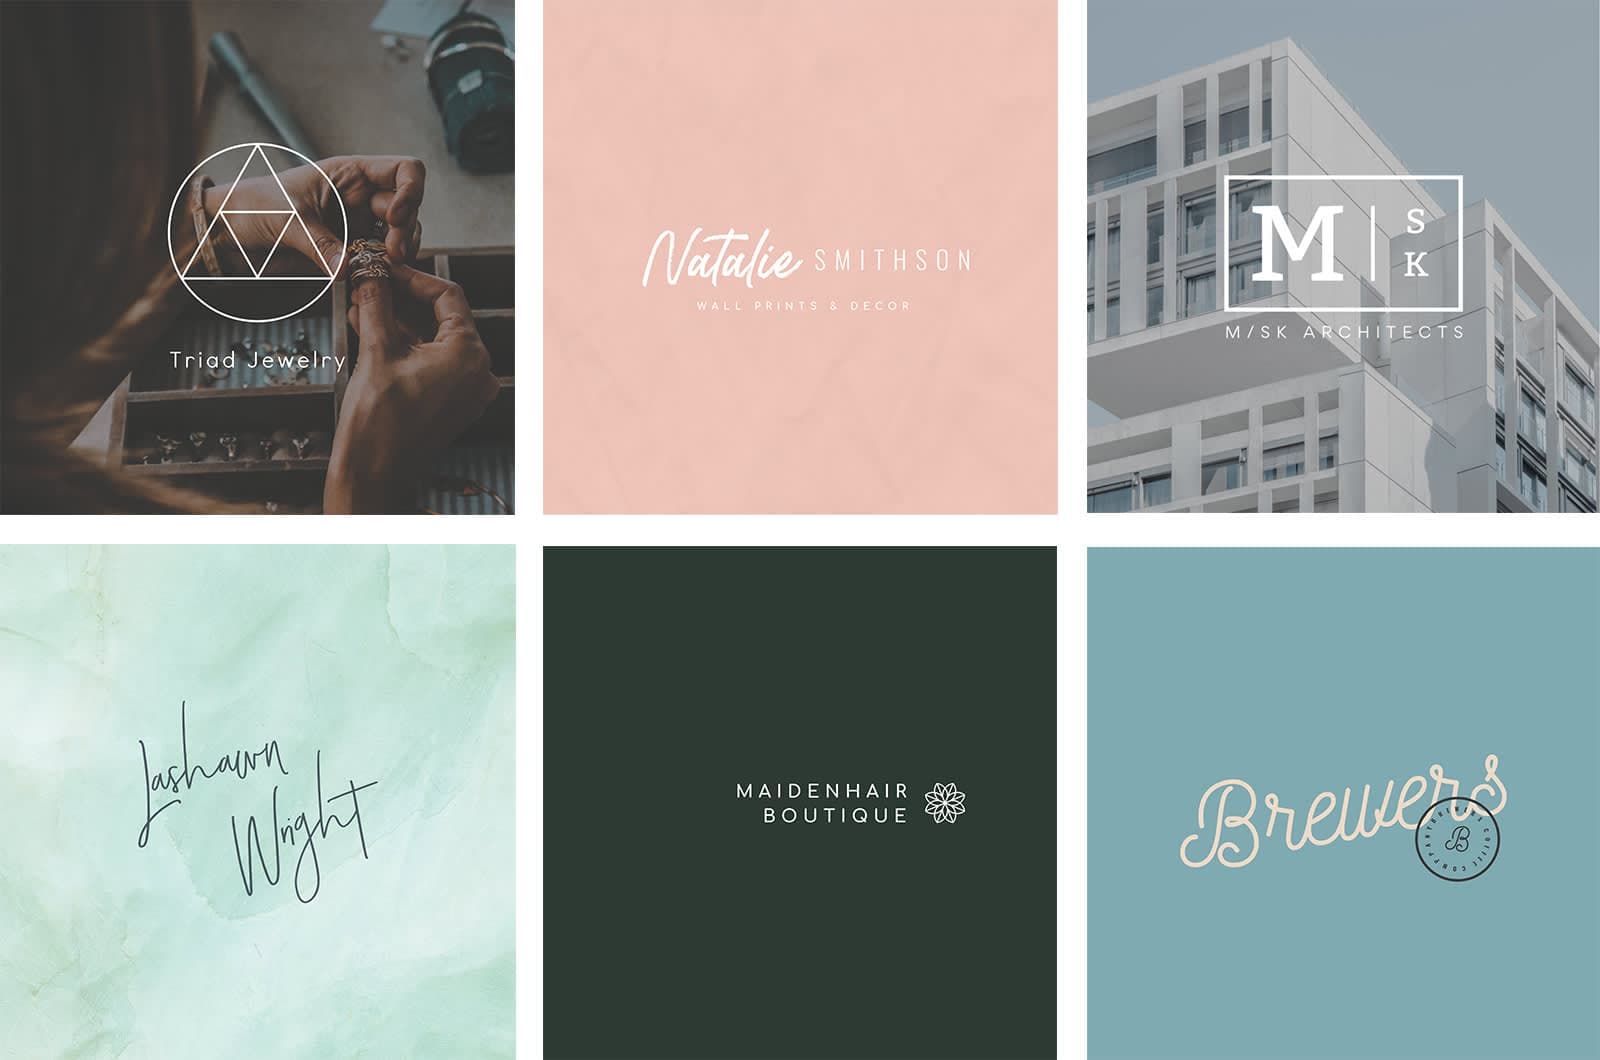
Your logo needs to be a transparent PNG overlay for proper watermarking. If your logo currently has a solid background (white, coloured, or otherwise), run it through the same background removal process. A clean transparent logo file ensures the watermark blends naturally with any underlying image — no white boxes, no awkward edges.
Step 3: Execute the Automatic Logo Watermark Addition
With your transparent subject images and your transparent logo ready, the final step is the automatic logo watermark addition itself. Use a batch watermarking tool or image processing script to overlay your logo across every image in the folder. Key parameters to configure:
- Placement: Lower right corner is the industry standard. Centred tile grids work for high-security applications but are more intrusive.
- Opacity: Aim for 30-50%. Visible enough to deter theft, subtle enough not to distract from the image content.
- Scale: Size the watermark relative to the image dimensions — typically 5-10% of the shorter edge for a single logo mark.
- Padding: Maintain 10-20 pixels of margin from the edges so the watermark does not touch the frame.
Once configured, the entire batch processes in minutes. You walk away with a fully watermarked catalogue, every image protected and branded consistently.
Best Practices for Batch Image Watermarking
- Always keep originals. Store your transparent unwatermarked PNGs separately. If you need to change the logo or placement later, you won't have to reprocess the cutouts.
- Use consistent branding. The same logo, opacity, and placement across your entire catalogue builds recognition. Inconsistent watermarking looks unprofessional.
- Protect thumbnails too. Many thefts happen at the thumbnail level. Ensure your automated pipeline applies watermarks to all image sizes, not just full-resolution files.
- Consider dual protection. A visible watermark plus embedded metadata (EXIF copyright, IPTC credit) gives you both visual and legal recourse if an image is misused.
Frequently Asked Questions
Can I watermark hundreds of photos at once?
Yes. The combination of AI background removal for batch transparent PNG preparation and a bulk watermarking tool lets you process hundreds of images in a single session. Most of the time is upload and download — the actual processing takes seconds per image.
What format should my logo be for watermarking?
A transparent PNG is the ideal format. It preserves your logo's edges, shadows, and gradients without any background box. Use our tool to convert any logo with a solid background into a clean transparent PNG overlay before watermarking.
Does removing the background affect image quality?
No. AI background removal preserves the full resolution and quality of your original image. The subject edges are processed with pixel-level precision, and the output is a high-quality transparent PNG — exactly what you need for professional watermarking.
Can I watermark images with transparent backgrounds?
Yes. You can apply a logo watermark directly over a transparent PNG. The watermark sits on its own layer above the subject, creating a clean overlay. When the image is placed on any background (white, coloured, or patterned), both the subject and watermark retain their transparency.
Is automatic logo watermarking better than manual?
For any batch larger than a handful of images, automatic watermarking is dramatically more efficient, consistent, and error-free. Manual watermarking introduces variability in placement and opacity, while an automated pipeline applies the exact same treatment to every image in the set.
Start Protecting Your Images at Scale
The fastest path to automatic logo watermark addition starts with a clean transparent cutout. Use our AI-powered tool to strip backgrounds in seconds, export high-quality transparent PNGs, and feed them directly into your batch watermarking pipeline.
Free, browser-based, no signup required.
Free • No signup • AI-powered • Instant results