
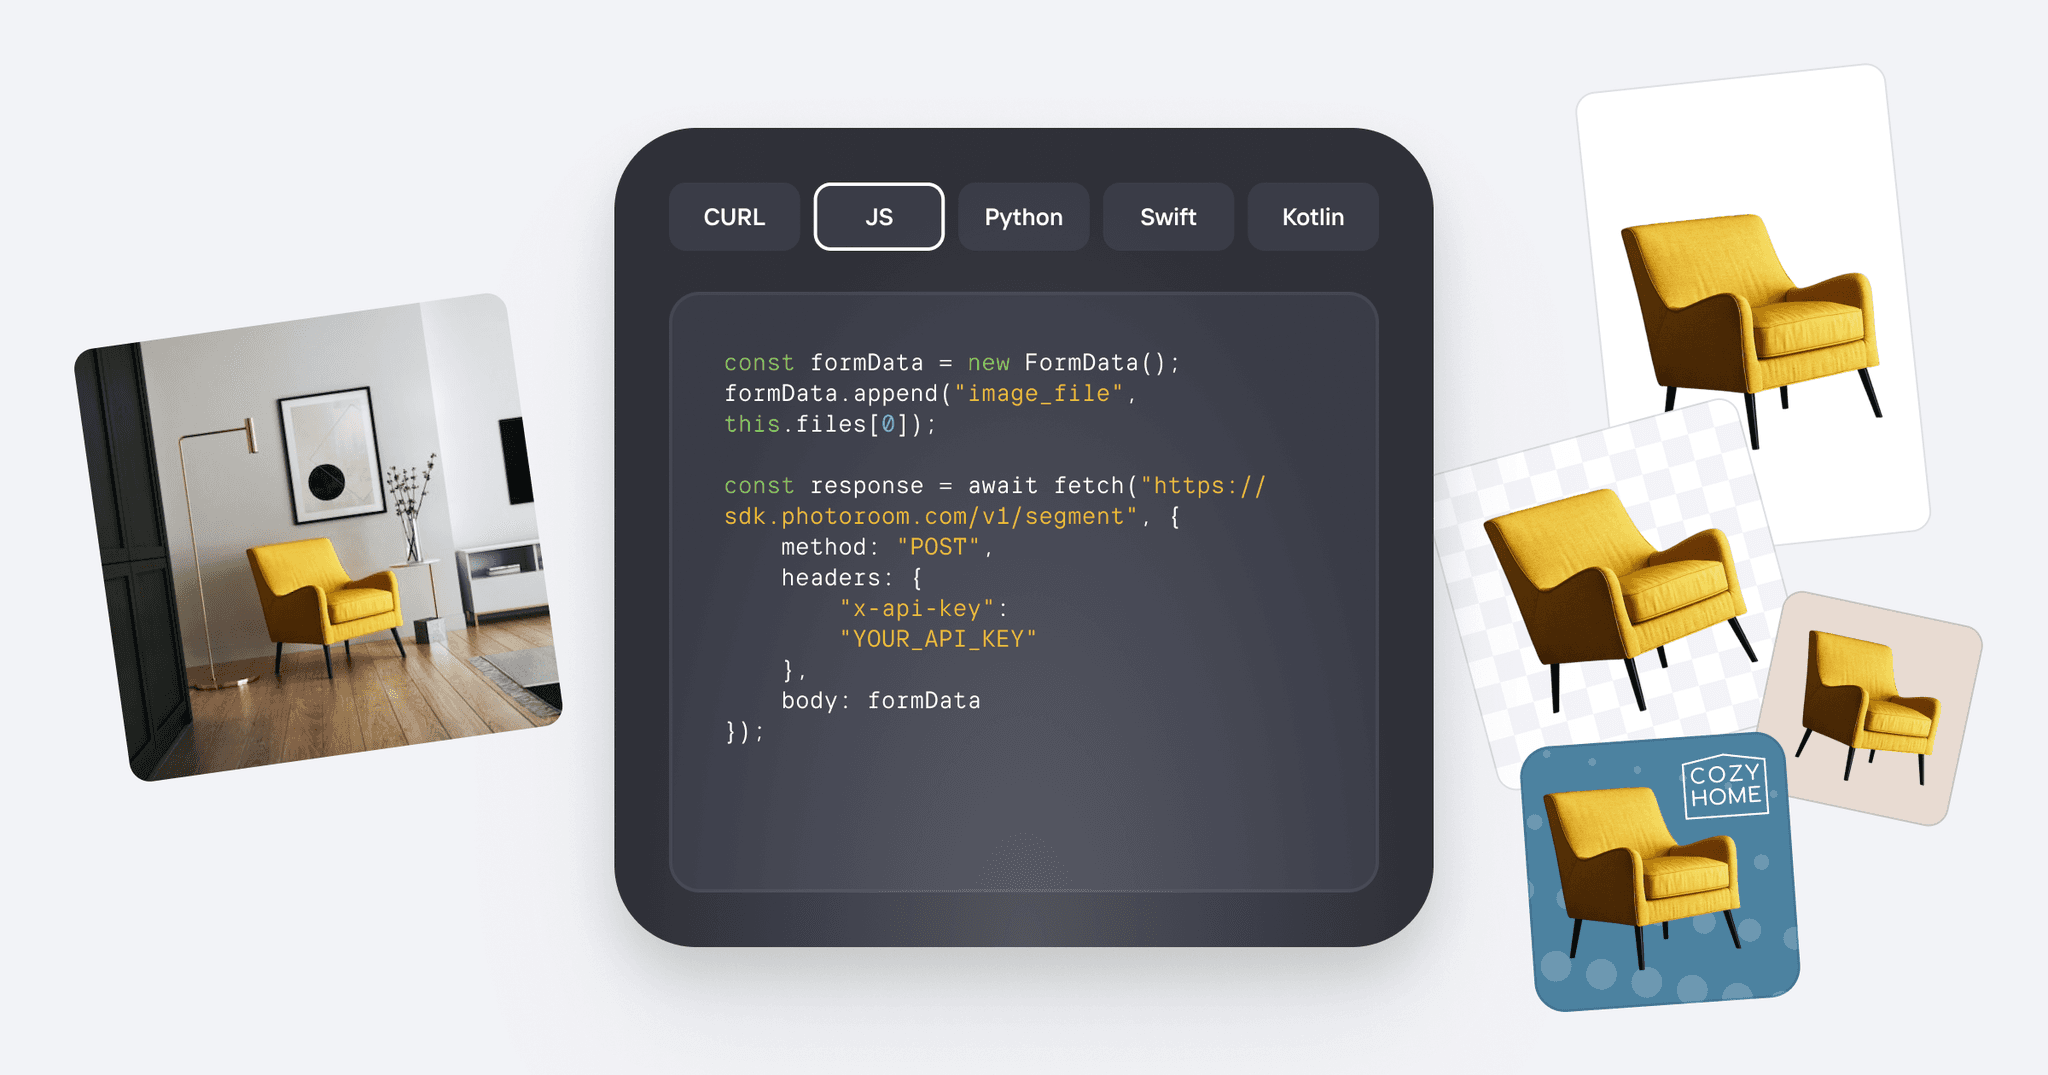
Background Removal API: The Developer's Integration Guide
Writing custom image-processing scripts from scratch wastes engineering time. Here is how to integrate a production-gradebackground removal API in under fifty lines of code.
Every team building an application that handles user-uploaded images eventually faces the same question: how do we normalise these photos to a clean, transparent-background format at scale? The naive approach — writing pixel-manipulation scripts with OpenCV, training a custom segmentation model, or spinning up GPU instances to run inference — quickly becomes a time-consuming distraction from your core product. Each option demands significant engineering investment in model training, server provisioning, and ongoing maintenance.
A purpose-built background removal API solves this cleanly. Instead of managing your own inference infrastructure, you send images to a dedicated endpoint and receive processed results as binary PNG data. The API handles the GPU compute, model versioning, load balancing, and failover — your application only needs to manage HTTP requests and responses. This shift reduces integration time from weeks to hours and lets your engineering team focus on features that differentiate your product.
This guide walks through the full integration lifecycle: understanding the API architecture, authenticating requests, configuring output properties, handling errors gracefully, and shipping a production-ready integration with Node.js image cutout code that you can copy, paste, and deploy.
Architecture and Data Flow
Before writing code, it is essential to understand how ahigh throughput image endpoint processes a request end to end. The flow is straightforward:
- Your client application sends a POST request containing the image payload. The image can be transmitted as multipart/form-data (ideal for large files, streams directly to the processor) or as a Base64-encoded string inside a JSON body (convenient for smaller images or when you control the entire encoding pipeline).
- The API gateway validates your API key, checks rate-limit quotas, and routes the request to an available GPU worker from a warm pool. Workers are pre-loaded with the segmentation model, so there is no cold-start delay.
- The model runs inference: a single forward pass through a convolutional neural network produces a per-pixel alpha mask. The mask distinguishes foreground (opaque) from background (transparent) and handles semi-transparent regions like hair or glass at sub-pixel precision.
- The response is assembled. For server side background extraction, the fastest format is raw binary with Content-Type: image/png — no Base64 overhead, no JSON envelope. The client receives the transparent PNG and can pipe it directly to storage, a CDN, or further processing.
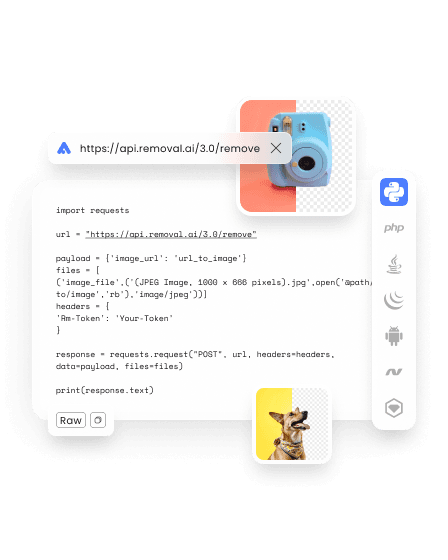
Step-by-Step Backend Integration Workflow
Authentication: Managing API keys securely
Every request to a production-grade API must include a secret API key. The standard approach is to pass it as an HTTP header — typically X-Api-Key or Authorization: Bearer <token>. Never hardcode keys in your source code. Use environment variables (process.env.API_KEY in Node.js, os.getenv in Python) and restrict key permissions to the minimum scope your integration needs. Rotate keys on a regular cadence and use separate keys for development and production environments.
Handling Output Properties
A flexible API lets you control the output format through request body parameters. The most common configuration options include:
- format: Output file type — png (transparent), webp (smaller file size), or jpg (white background fill).
- scale: How the subject fits the output canvas — original (preserves dimensions), fit (scales to fit within dimensions), or fill (crops to fill).
- bg_color: Replace the transparent background with a solid colour — use hex codes like "ffffff" for white or "000000" for black.
- edge_smoothing: Enables post-processing that refines jagged edges on low-resolution or highly compressed source images.
- shadow: Optionally renders a realistic drop shadow beneath the extracted subject for e-commerce or presentation use.
Set these once in your integration and they apply uniformly across every request, ensuring consistent output regardless of the input image's original characteristics.
Error Handling and Fault Tolerance
Production integrations must handle non-200 responses gracefully. The four error classes you will encounter:
- HTTP 400 (Bad Request): The payload is malformed, the image format is unsupported, or a required parameter is missing. Log the response body for debugging.
- HTTP 401 / 403 (Unauthorized / Forbidden): The API key is missing, expired, or lacks permissions for the requested operation.
- HTTP 429 (Too Many Requests): You have exceeded the rate limit. Implement exponential backoff: wait 1s, then 2s, then 4s, up to a maximum of 60s before retrying. Respect the Retry-After header if present.
- HTTP 500+ (Server Error): A transient server fault. Retry up to 3 times with backoff. If the error persists, alert your operations team.
Always set a timeout on your HTTP client (30 seconds is a reasonable default for image processing). Without a timeout, a stalled connection can hold open a server resource indefinitely.
Clean Code Integration: Node.js + Fetch
The following Node.js image cutout code uses the built-in fetch API (available since Node 18) to send a file via multipart/form-data and stream the transparent PNG result directly to disk. No external dependencies are required:
import fs from 'node:fs';
import { pipeline } from 'node:stream/promises';

const API_KEY = process.env.BG_REMOVAL_API_KEY;
const ENDPOINT = 'https://api.example.com/v1/remove-background';

async function removeBackground(inputPath, outputPath) {
  const formData = new FormData();
  const imageBuffer = fs.readFileSync(inputPath);
  const blob = new Blob([imageBuffer], { type: 'image/jpeg' });
  formData.set('image', blob, 'photo.jpg');

  const response = await fetch(ENDPOINT, {
    method: 'POST',
    headers: { 'X-Api-Key': API_KEY },
    body: formData,
    signal: AbortSignal.timeout(30_000),
  });

  if (response.status === 429) {
    const retryAfter = response.headers.get('Retry-After') || 5;
    console.warn(`Rate limited — retrying in ${retryAfter}s`);
    await new Promise(r => setTimeout(r, retryAfter * 1000));
    return removeBackground(inputPath, outputPath); // retry
  }

  if (!response.ok) {
    const err = await response.json().catch(() => ({}));
    throw new Error(`${response.status}: ${err.message || 'Unknown error'}`);
  }

  // Stream binary response directly to file
  await pipeline(response.body, fs.createWriteStream(outputPath));
  console.log(`Saved transparent PNG to ${outputPath}`);
}

// Usage
await removeBackground('./input/product.jpg', './output/product.png');
For Python developers, the equivalent Flask integration uses the requests library with the same multipart approach. The key pattern is identical: read the file, POST to the endpoint with your API key, and write the raw response content to a file. No Base64 decoding is necessary because the API returns raw binary data.
Ship Production-Grade Background Removal Today
Our background removal API is a lightning-fast, production-ready infrastructure engineered for scaling applications. With competitive response latencies (P50 under 500 ms), zero-overhead client integration via raw binary responses, and rock-solid 99.9 % uptime, it is thehigh throughput image endpoint your stack needs. Explore the full API documentation, interactive playground, and SDK examples.
Free tier available — start integrating in minutes.
REST API • 99.9 % uptime • P50 < 500 ms • Raw binary response • No SDK required