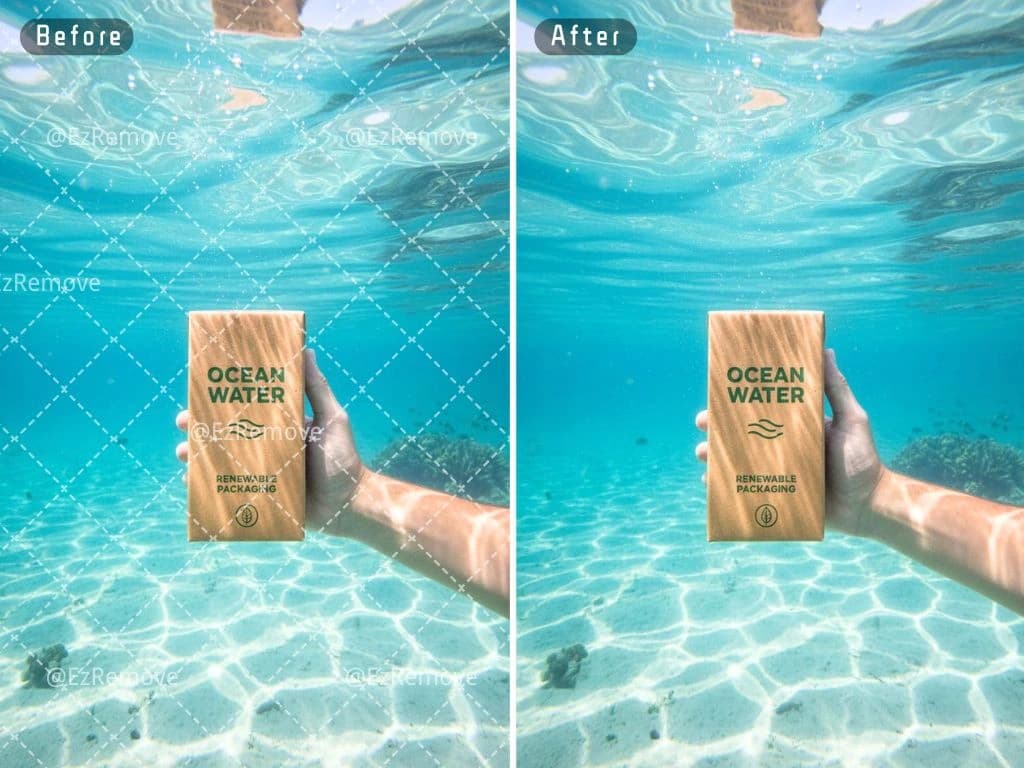
Remove Watermark from Image: AI Brush Techniques
From legacy timestamps to semi-transparent brand overlays — master the AI brush techniques to remove watermark from image with precision, speed, and full control over the result.
Every digital asset library contains them: old product photos stamped with a date or "proof" watermark, client delivery files overlaid with a semi-transparent brand mark, reference images captured with a timestamp burned into the corner, or legacy social media graphics with platform watermarks. These distractions render otherwise usable assets unsuitable for professional use — and the traditional fix has been painfully slow.
For years, the standard approach was the clone stamp tool in Photoshop: sample a source area pixel by pixel, paint over the watermark, repeat. A single complex overlay crossing multiple textures could take 20-30 minutes of meticulous brushwork, and the result was often visible repetition artifacts or blurred texture. The process required both skill and patience, and it simply did not scale.
Modern AI-powered inpainting changes this entirely. Instead of copying pixels, an object inpainting brush tool analyses the surrounding image context — texture direction, lighting gradients, repeating patterns — and reconstructs the missing area from scratch. What took minutes now takes seconds. This guide explains how these tools work, provides a step-by-step framework for flawless results, and helps you choose between inpainting and full background removal for different scenarios.
Legal disclaimer: Watermarks are used by creators, photographers, and agencies to protect intellectual property. This guide is intended only for removing watermarks from assets you own the rights to, have purchased a license for, or have explicit permission to modify. Always respect copyright law and the rights of content owners.
The Mechanics Behind AI Inpainting Brush Tools
To use an AI inpainting tool effectively, it helps to understand what happens when you brush over a watermark and click "remove." The process is fundamentally different from the pixel-copying approach of traditional clone stamp tools.
When you define the region to remove, the AI model — typically a generative inpainting network trained on millions of image reconstructions — analyses three layers of information from the surrounding pixels. First, it maps texture direction (is the background a wood grain, a fabric weave, or a smooth gradient?). Second, it captures lighting and colour gradients (how does the light fall across the area? are there shadows near the watermark?). Third, it identifies structural edges (where do objects or pattern boundaries cross through the masked area?).
The model then generates replacement pixels that match all three dimensions simultaneously. The result is a reconstruction that blends seamlessly because it was synthesised, not copied. This is what makes modern AI background reconstruction capable of removing watermarks that cross from a product edge into a shadow — transitions that would produce obvious seams with manual cloning — without leaving visible artifacts.
The quality of the output depends on two factors: the amount of clean context around the watermark (more context = better reconstruction) and the brush accuracy (painting only the watermark, not adjacent detail). Both are within your control, as the next section demonstrates.
Step-by-Step Guide: How to Achieve a Flawless Result
Adjusting brush thickness for precision
The brush thickness setting is your primary control over how the AI interprets the area to reconstruct. Use a small brush (2-8 px) for fine text, thin logo borders, or watermark edges that sit close to important image details. A tight brush prevents the AI from reconstructing over details you want to keep. Use a medium brush (10-25 px) for standard text overlays, date stamps, and small logos. Use a large brush (30-50 px) for big semi-transparent watermarks that cover a broad, uniform area like a gradient wash or repeating pattern. When in doubt, start small and expand — it is easier to make multiple passes than to restore detail the AI removed unnecessarily.
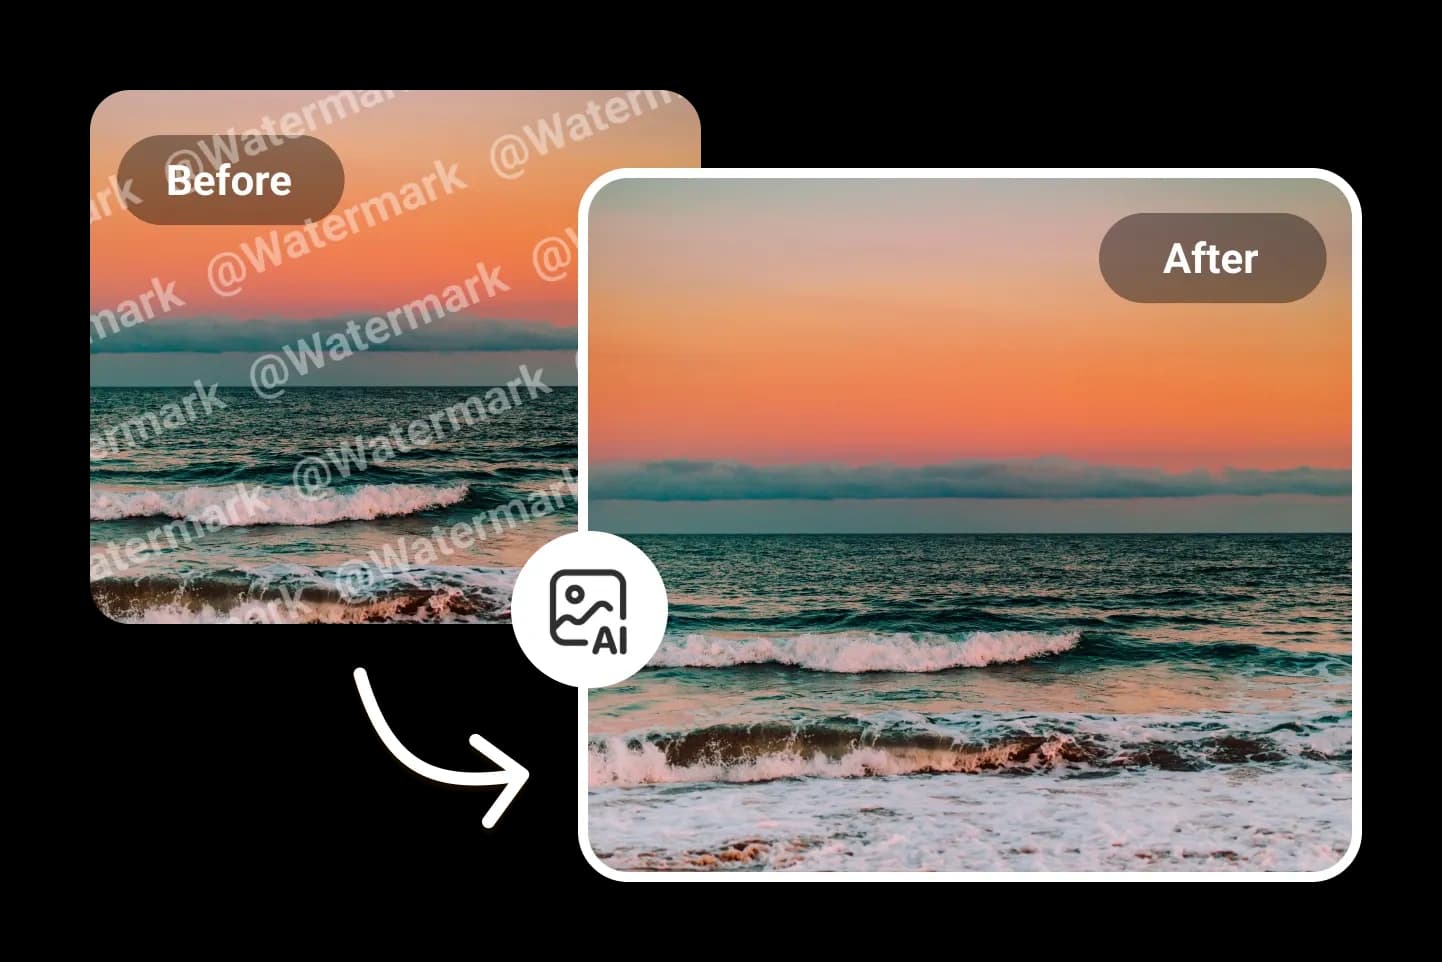
Managing complex semi-transparent gradient watermarks
The hardest case for any remove watermark from image AI tool is a semi-transparent overlay that crosses multiple textures or object boundaries — for example, a translucent brand mark that stretches across a white wall, a dark product silhouette, and a shadow area. The AI must simultaneously remove the watermark tint, restore the underlying textures, and maintain edge continuity where the watermark crosses the product boundary.
The winning strategy here is segmented passes. Instead of brushing the entire watermark at once, divide it into zones by the background texture underneath. Remove the section over the wall in one pass, the section over the product in a second pass, and the section over the shadow in a third. Each pass gives the AI a smaller, more uniform area to reconstruct, which dramatically improves output quality. Between passes, inspect at 100-200 % zoom for halo remnants and address them with a tight brush before moving on.
Fine-tuning to prevent texture blur and pixelation
If the output shows visible blur or pixelation in the reconstructed area, the most likely cause is insufficient context. The AI needs enough clean surrounding pixels to understand the texture it must replicate. Zoom out and verify that your brush selection includes a margin of clean area around the watermark — 5-10 px of visible context on each side gives the model the reference data it needs.
For high-frequency texture zones like hair, fur, fabric weave, or grass, consider switching to a digital image restoration pipeline approach: use the inpainting tool at full resolution first, then apply a light surface blur (0.3-0.5 px radius) to the reconstructed zone only if texture noise is visible. Avoid applying blur to the entire image — this reduces overall sharpness and creates a telltale edited look.
Combining Workflows: Background Removal vs Object Inpainting
Knowing when to use an inpainting brush and when to use a full background remover is the skill that separates efficient workflows from wasted effort. Each tool solves a different class of problem, and using the right one halves your processing time.
When to use object inpainting
Reach for the object inpainting brush tool when the watermark occupies a small portion of the frame and you want to keep the original background intact. Typical use cases: removing a date stamp from a landscape photo, erasing a social media platform watermark from a user-generated image, or clearing a "proof" overlay from a client preview while keeping the studio background untouched. Inpainting is also the better choice when the subject has complex edges (hair, fur, lace) that a background remover might misinterpret.
When to use automated background removal
Switch to automated background removal when the watermark is on the background rather than the subject, or when the image needs a clean transparent PNG for e-commerce or design use. OurAI Watermark Remover handles both workflows in one interface: use the inpainting brush for targeted overlay removal, or let the AI isolate the subject entirely when the background is beyond salvage. For a watermark that covers only the background area — like a repeating pattern behind a product — removing the entire background and replacing it with a clean white or transparent canvas is faster and produces a more uniform result than inpainting each repeat individually.
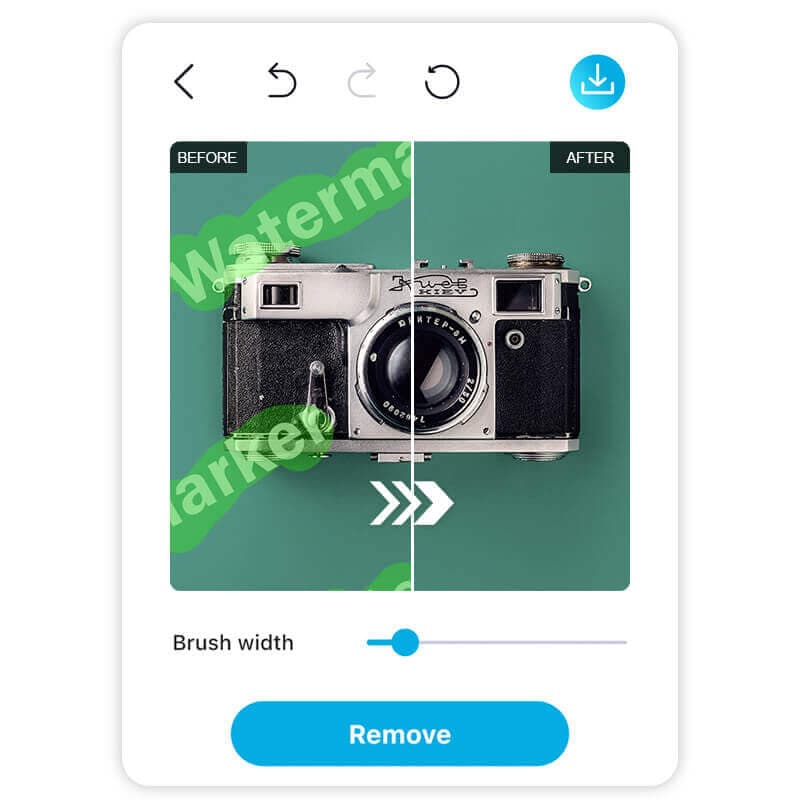
Remove Watermarks with Studio-Grade AI Precision
Our platform is an advanced, high-performance web suite built to handle complex image processing tasks effortlessly. Whether you need a crisp transparent subject extraction, a perfectly isolated background cutout, or a targeted watermark removal using the latest AI background reconstruction pipeline, our tool delivers studio-quality output in seconds. No software installation, no GPU required — just upload, brush, and download.
Free, browser-based, no signup required.
Free • No signup • AI-powered • Inpainting + Background removal • Sub-second