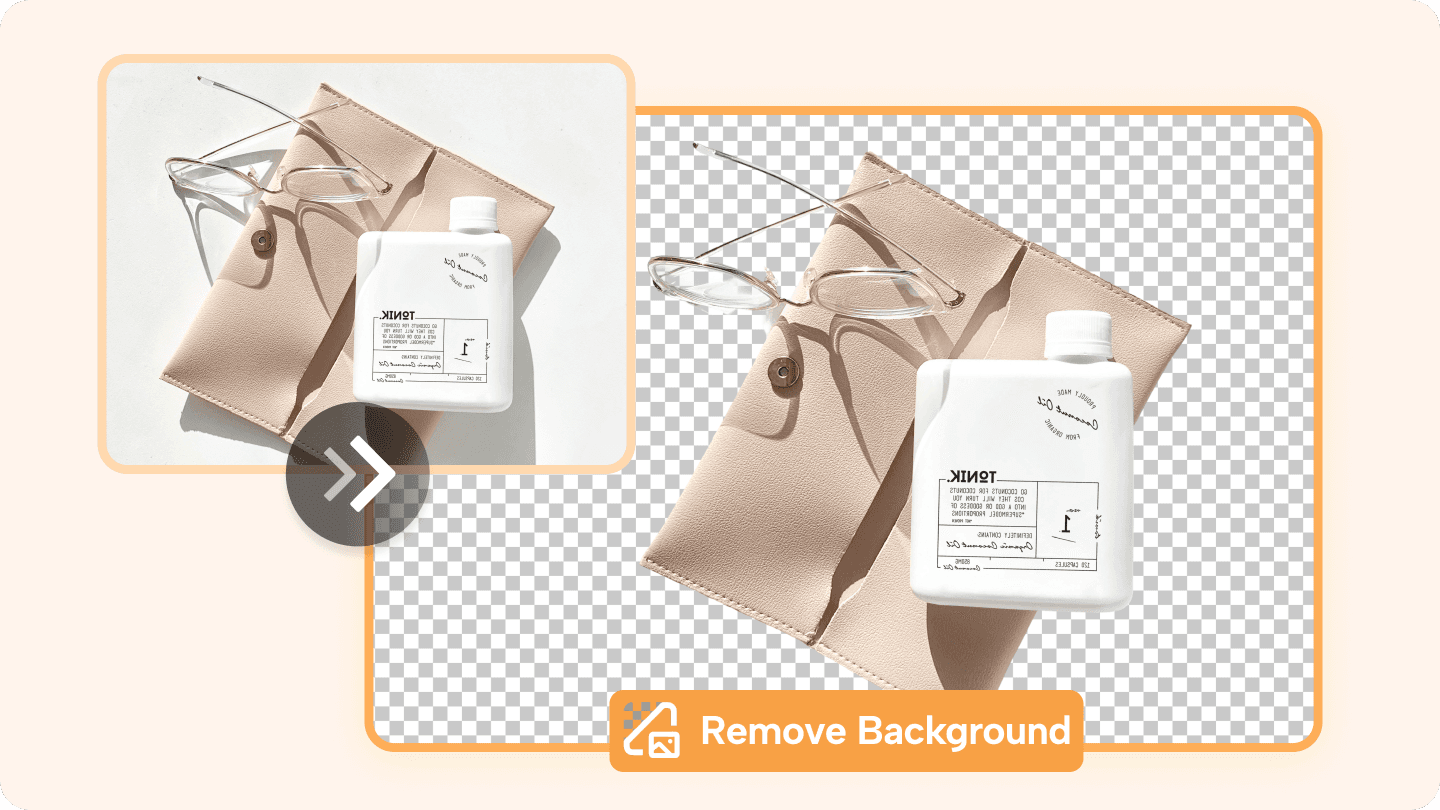
Transparent Background Maker: Professional Brand Assets
Your brand is only as consistent as the assets you use to represent it across every channel. Here is how a transparent background maker helps you build a polished, unified visual identity.
Consistency is the hallmark of every memorable brand. When a potential customer sees your logo on a website, a social media post, a presentation slide, a printed brochure, and a trade-show banner, the visual identity should feel identical across every touchpoint. In practice, however, achieving this consistency is harder than it looks — especially when your source logo file has a solid white or coloured background that clashes with the canvas you are placing it on.
A logo that arrives with a white box around it on a dark website header, or a branded icon that sits on a mismatched colour block inside a pitch deck, immediately signals amateurism. These small visual inconsistencies accumulate across channels and gradually erode the professional perception you have worked hard to build. The solution is deceptively simple: every brand asset you create should exist as a transparent file — a file that layers seamlessly over any background colour, image, or texture.
This is where a transparent background maker becomes an essential part of your brand toolkit. Instead of juggling multiple versions of the same logo for light and dark backgrounds, you produce a single master asset with a transparent background and use it everywhere. The tool isolates your logo, icon, or product image from its original background, leaving a clean, floating element that can be dropped onto any canvas without editing. In this guide, we will walk through exactly how to create transparent brand logo files, the anatomy of professional brand assets, the mistakes to avoid, and a step-by-step production workflow that guarantees crisp results every time.
The Anatomy of a Professional Brand Asset
Before diving into the production process, it helps to understand what makes a brand asset truly "professional" from a technical standpoint. The industry standard for digital brand assets is the PNG format — specifically, a PNG file that includes an alpha channel. Unlike JPEG, which encodes every pixel as a solid colour, PNG supports variable transparency through its alpha channel. Each pixel carries not only red, green, and blue colour values but also an opacity value ranging from 0 (fully transparent) to 255 (fully opaque). This is what enables a logo to appear perfectly crisp when placed over a dark gradient, a busy photographic background, or a print brochure.
For vector-based logos and icons — the kind typically designed in Adobe Illustrator or Figma — the ideal format is SVG. SVG files define shapes mathematically rather than pixel by pixel, which means they scale to any size without losing sharpness. An SVG logo can be printed on a business card at 2 cm wide or displayed on a billboard at 10 metres wide with identical clarity. When you combine SVG scalability with transparent backgrounds, you get a brand asset that is future-proof across every medium your business will ever use.
The key concept to internalise is the digital branding image pipeline. Your brand assets flow through multiple systems: your website CMS, your email marketing platform, your social media scheduler, your presentation software, your print vendor's prepress system. Each of these systems handles images differently. A transparent PNG with a properly encoded alpha channel survives this pipeline intact. A JPEG with a baked-in white background, by contrast, forces you to recreate or re-crop the asset for every new context — a workflow that is inefficient and prone to inconsistency.
Common Mistakes to Avoid When Making Brand Assets Transparent
Even with powerful AI tools at your disposal, certain pitfalls can compromise the quality of your transparent brand assets. Here are the most frequent mistakes and how to avoid them.
Mistake 1 — Over-softening sharp vector edges during AI extraction
Many AI background removers are optimised for photographic subjects — people, products, animals — where soft, slightly feathered edges look natural. When the same algorithm is applied to a vector logo with razor-sharp geometric edges, it can introduce a subtle blur or feathering that makes the logo look uncharacteristically soft. For brand assets, every pixel of the edge matters. Choose a crisp asset overlay tool that recognises hard vector edges and preserves them as sharp, pixel-perfect boundaries.
Mistake 2 — Accidentally cutting out white spaces inside letters or corporate symbols
A logo is not always a solid shape. Many wordmarks and symbols contain internal voids — the enclosed area inside the letter "O", the gap between linked rings, the negative space in a geometric icon. An aggressive background removal algorithm may interpret these internal white areas as "background" and cut through them, leaving your logo fragmented or hollow. Always inspect the inner details of your logo after processing. The best tools allow you to restore these internal regions with a simple brush adjustment.
Mistake 3 — Saving transparent files in JPEG format
This is the most common and most destructive mistake. JPEG does not support transparency. When you save a transparent PNG as a JPEG, the software fills all transparent areas with white — exactly the problem you were trying to solve. Always export your brand assets as PNG-24 (8-bit or 24-bit with alpha channel) or WebP if browser performance is a priority. Double-check that the file extension is .png or .webp and that the file size reflects the presence of transparency data before you distribute the asset to your team or upload it to your CMS.
Step-by-Step Production Guide for Flawless Overlays

Step 1 — Pre-optimise your logo colour contrast
Before you run your logo through any background removal tool, take a moment to assess the contrast between your logo elements and the background they sit on. If your logo uses light colours on a white background — a common scenario for brands that use the same master file for print and digital — the AI may struggle to distinguish the subject from the background. Temporarily darken the background or add a contrasting stroke around the logo edges to help the detection model identify the boundaries accurately. After extraction, you can discard the temporary adjustment and the result will retain the original colours.
Step 2 — Run the asset through a transparent background maker
Open your browser and navigate to an online transparent background maker such as the background removal tool at RMBG.PRO. Upload your logo file — most tools accept PNG, JPEG, WebP, and other common formats. The AI model analyses the image in real time, identifies the logo boundaries, and isolates the subject from its original background. Within one to three seconds, you will see a preview of your logo floating on a transparent canvas. At this stage, the tool has already generated an alpha channel that preserves the exact shape of your logo, including fine details like serifs, curves, and internal voids.
If your goal is to make PNG background transparent online quickly and reliably, this single step replaces what used to be a multi-minute manual process in professional design software. The AI handles hairline edges, compound curves, and subtle gradients automatically.
Step 3 — Review fine text boundaries and inner voids
Once the transparent preview is generated, zoom in to 200-400 % and inspect the critical areas. Check the edges of any text elements — do the serifs look complete? Are the counters (the enclosed spaces inside letters like "A", "B", "D", "O", "P", "Q", "R") fully transparent where they should be? Examine the junctions where different parts of the logo meet — for example, where a wordmark crosses an icon. If any area looks partially filled or incorrectly cut, adjust it using the tool's refine brush. Paint over the areas you want to keep or remove, and the AI updates the mask in real time.
Step 4 — Export and test on multiple backgrounds
Download the transparent file as PNG-24 or WebP. Before you distribute it across your organisation, test the file on at least three different backgrounds: a light solid colour (white or light grey), a dark solid colour (black or dark navy), and a textured or photographic background. Open the file in a simple image viewer or drag it into a presentation slide to verify that the transparency is rendering correctly and that the edges look sharp against every backdrop. This quick validation step catches any remaining issues before the asset reaches your marketing channels.
Create Crisp Brand Assets in Seconds
Our precision-driven transparent background maker is engineered specifically for brand assets. It extracts logos, icons, and product images with razor-sharp edges, preserves internal details, and outputs clean transparent PNG files ready for any marketing channel. No design skills required — just upload and download.
One transparent master file. Every channel, every background, perfectly consistent.
Free • No signup • AI-powered • Sub-second • PNG export • Edge-preserving